Wednesday, October 22, 2014
More delays
Monday, October 20, 2014
Ready to galvanise
Hey all finally got the parts back from the laser cutters and got a mate to clean up the chassis and weld the new shock mounts on. With 6mm 350mPa steel plate and 4140 bar welded everywhere we could I doubt it will ever break. Fit together perfect too, tapped the stud in with a hammer and then tapped the whole mount into the chassis as well. Great idea getting things laser cut and not as expensive as you'd think either.
Some people were over the next day so we loaded it onto the trailer and will hopefully take it down to the galvanisers today. This is the turning point of when it starts going back together which is very exciting.
Next job is to rebuild the diffs and install a spring over axle lift in the front and a shackle flip in the back.
Cheers.
Thursday, October 2, 2014
Shock studs
The studs however are both done and my machinist friend offered to do them for free too in return for putting his business on the race TJ. If anyone is looking for a great machinist who knows his stuff about everything off road talk to Peter at Warragul Machining and Mechanical Repairs. He did a great job on the studs and made out of very high grade steel, 4140 from memory so shouldn't have any problems with these breaking.
Will hopefully update soon with the laser cut parts.
Cheers.
Tuesday, September 16, 2014
Rear shock mounts
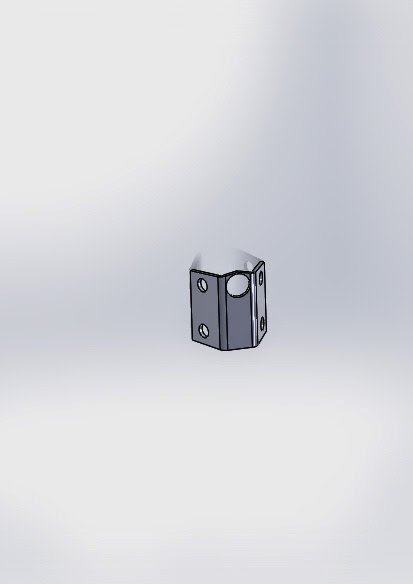
The smaller holes are to allow for hot dip galvanising and the larger hole to fit the shock mounting stud which is being made by a machinist at the moment.
Hopefully I should have both next week and can weld them on. After this and a good clean the chassis is ready to be galvanised.
Cheers.
Thursday, July 10, 2014
Galvanising
Hey everyone. Diffs are off and no just have the tow bar and a couple other brackets to remove. I have sent pictures to a galvanising businesses for a quote and should be having it hot dipped in the next few weeks. Then I begin putting it back together! However due to limited funds progress will be very slow. I am beginning from the ground up so first thing will be rebuilt diffs with air lockers front and rear followed by springs and shocks. Since my brother in law was selling his 37" tyres I have decided to buy and run them so the Jeep will now be built to fit them which means no regearing is required but a lift will be.
More updates should be soon.
Cheers.
Tom.
Friday, June 27, 2014
Stripped
Hey all, been a while since I updated this but its been pretty boring just dismantling everything. So far have stripped it down to the chassis and still have to remove the axles and brake lines. Pulled a lot of dirt from between the tank and frame but luckily just a bit of surface rust. I think the layer of clay on it protected it! Otherwise everyrhing looks pretty good and not a lot of work but who knows what may be under the paint. Once the chassis is absolutely bare I will cut off some of the mods the previous owner has added like battery mounts under the tray. Then I will strip and paint the chassis and start rebuilding!
Cheers for watching.
Friday, June 6, 2014
Split roof
Last night I succeeded in splitting the two parts of the roof. The rust isn't ridiculously bad and is all easily fixable but I'm glad I did this as there is quite a bit. Next job is to strip it of paint sand away the rust and prime it. Then I'll move onto the bonnet.
Tuesday, May 13, 2014
Rust!
Saturday, May 10, 2014
Stripping for paint
Thursday, April 3, 2014
SD33T engine
Now it is registered I will begin stripping it down and will most likely start painting and designing parts for it, however due to a break down of my daily driver it is temporarily on hold.


